The most recent test I did with Lauren, which I got to eat (and maybe drink a mimosa or two)! How could you go wrong?


DIY
The most recent test I did with Lauren, which I got to eat (and maybe drink a mimosa or two)! How could you go wrong?
As many of you know, I work in a mostly product oriented studio. And as many of you also might know, I don't have much of a product portfolio, but I'm working on changing that. Lately I've been working with different stylists, mostly the lovely Lauren Skrobot, to make some awesome images. I'll be posting different ones up here periodically. Starting with this very finicky image combining both of our favourite colors: teal and gray. We've got three personalities in one; the hipster-photographer, the fashionista, and the crafter. Yes those are 7.62x39 rounds made into a bracelet, and yes that is a purse-sized hair straightener, and yes we did own all of these items. Which personality do you most resemble?

Well I came back from NYC with a whole bunch of jewelry and nowhere to put it (although, let's face it, this is not a new problem).

Ever since college, after I saw the idea at my friend Kelly's apartment, I have wanted to incorporate a screen into storing my jewelry.
I did want it to be a little more aesthetically pleasing than just a window screen placed on a wall. So I decided to take matters into my own hands.
First, I went thrift store antique shopping. Where, with the help from my mum, I found an awesome wire bird-cage as well as this "primitive ladder." 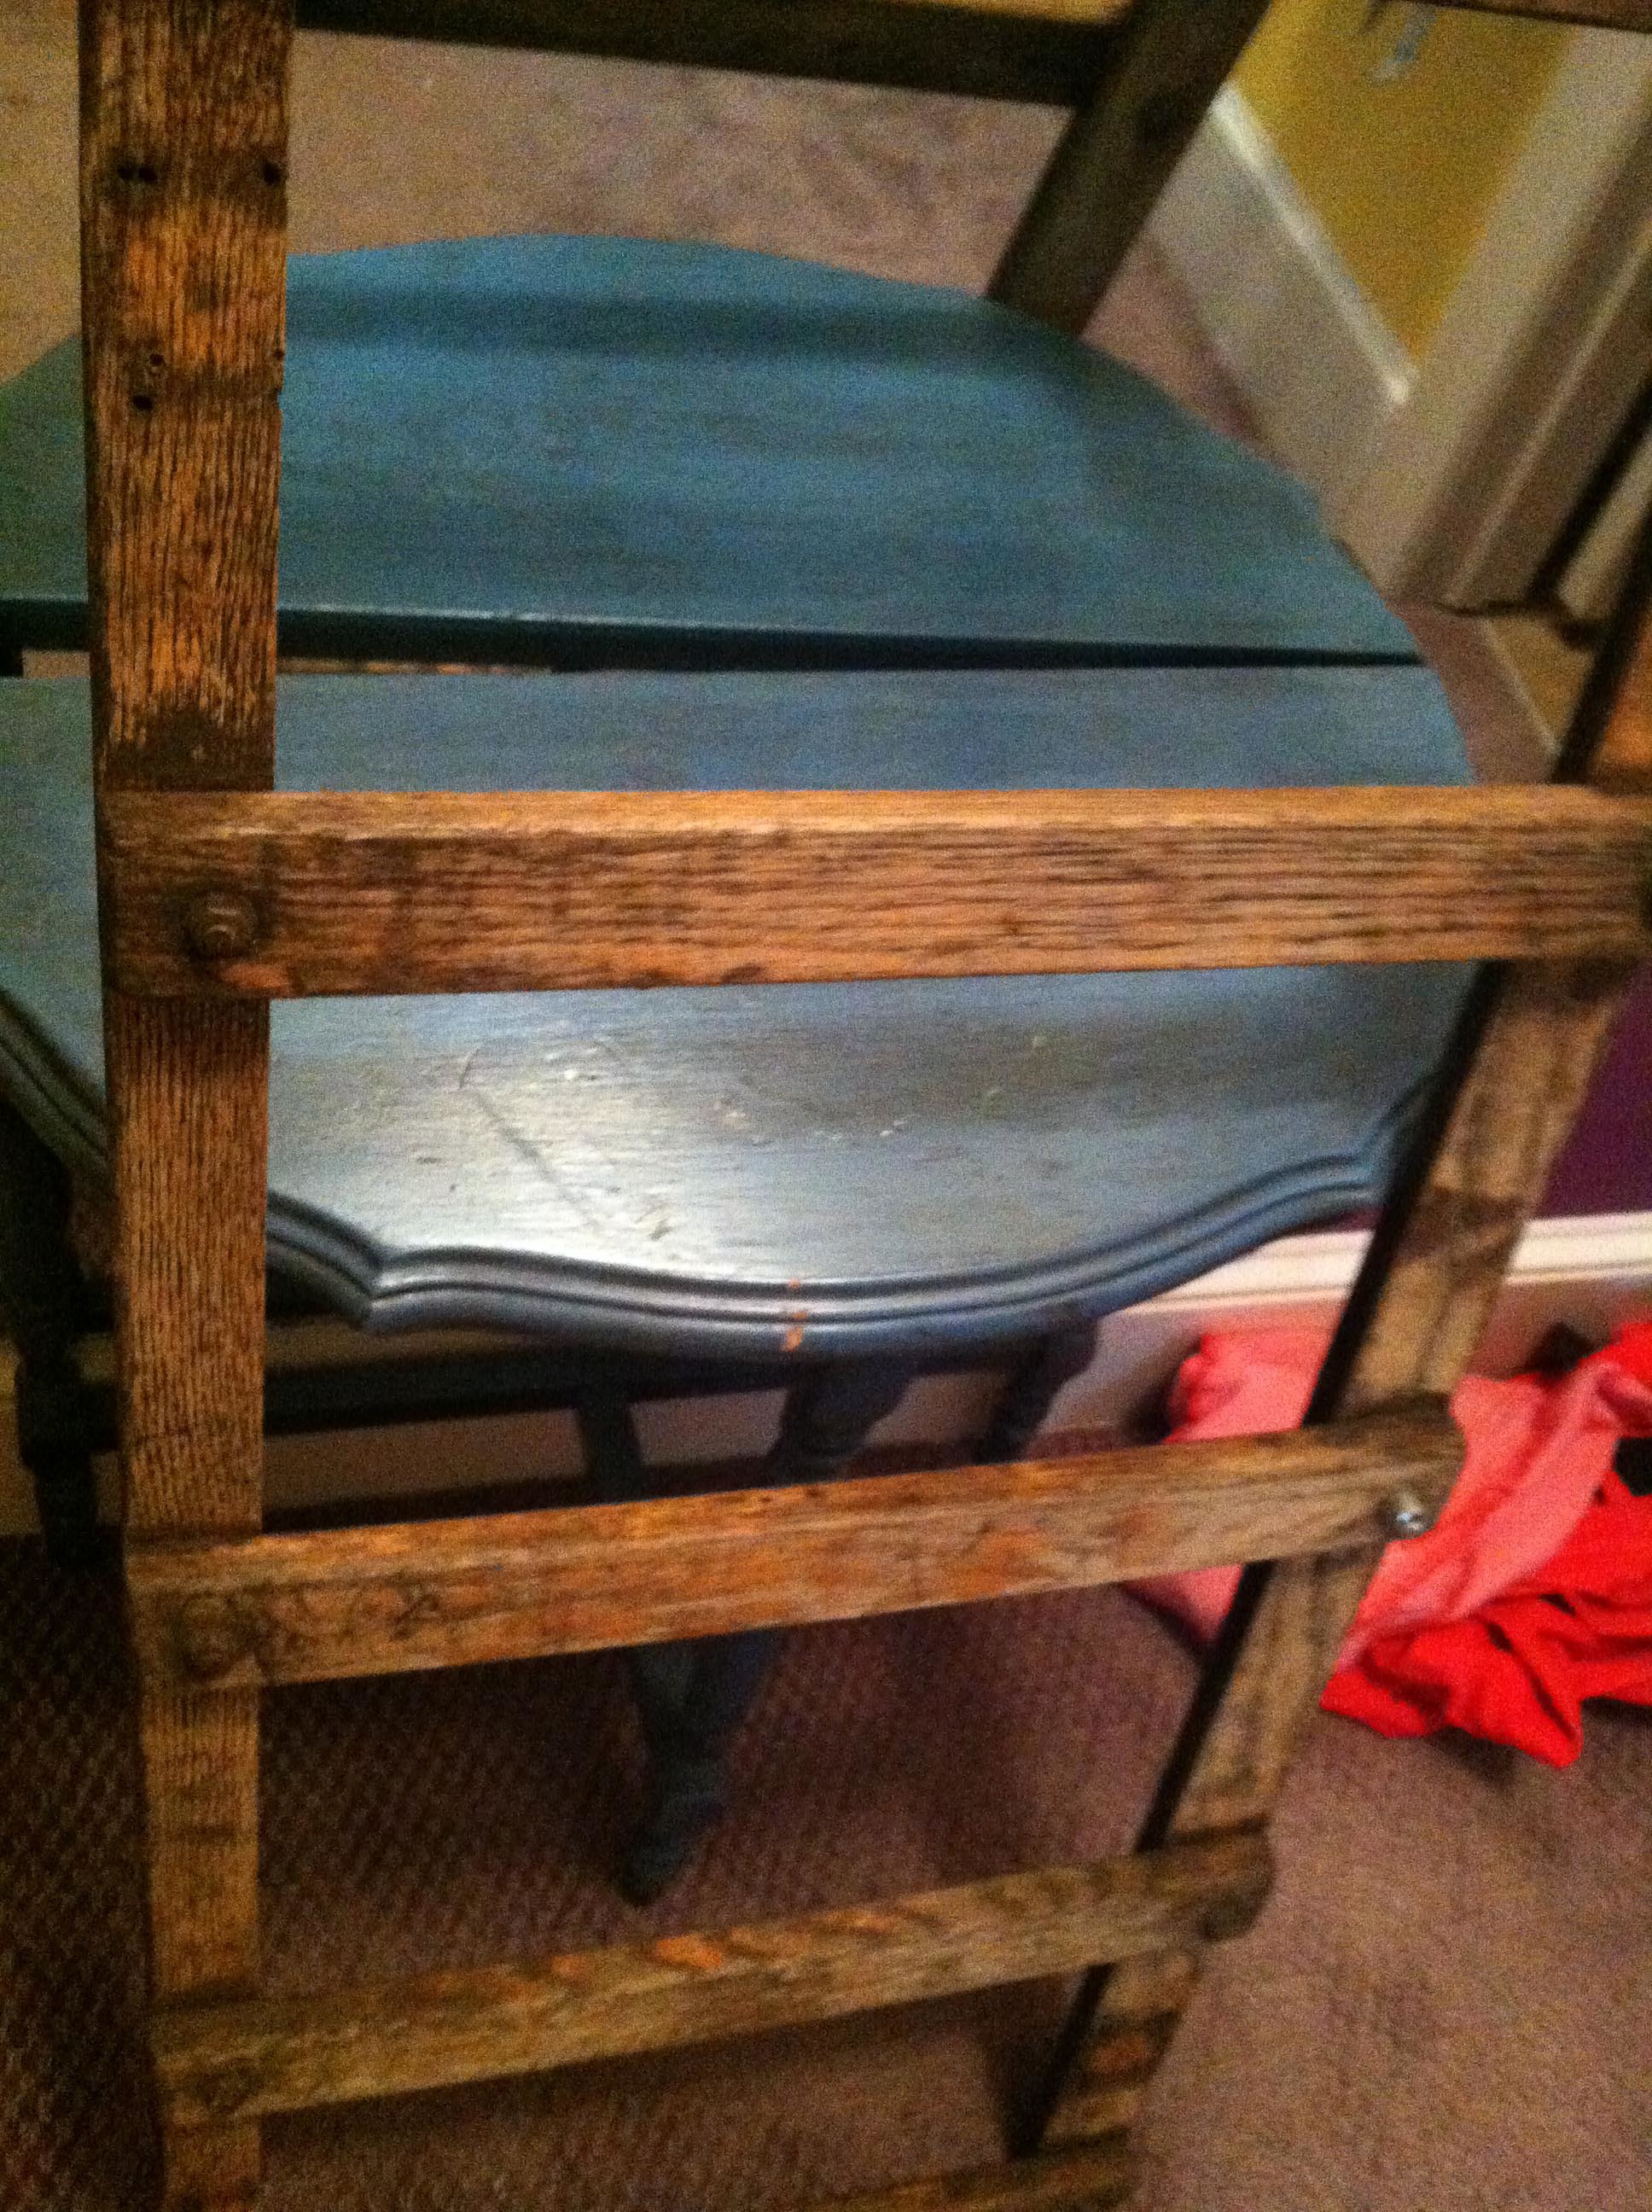 No lie, that is what it was called on the tag.<a
Then I went to Home Depot and picked up some chicken wire with the appropriate size mesh (whatever you personally think will work best for your purposes).
I then took the wire home and cut it (with wire cutters) to the dimensions of the insides of the primitive ladder so the wire doesn't interfere with hanging it up later.
 Then I laid the wire out over two pieces of wood in the back parking lot so it would not touch the ground. You might have to hold down the wire with something heavy (like a brick).
 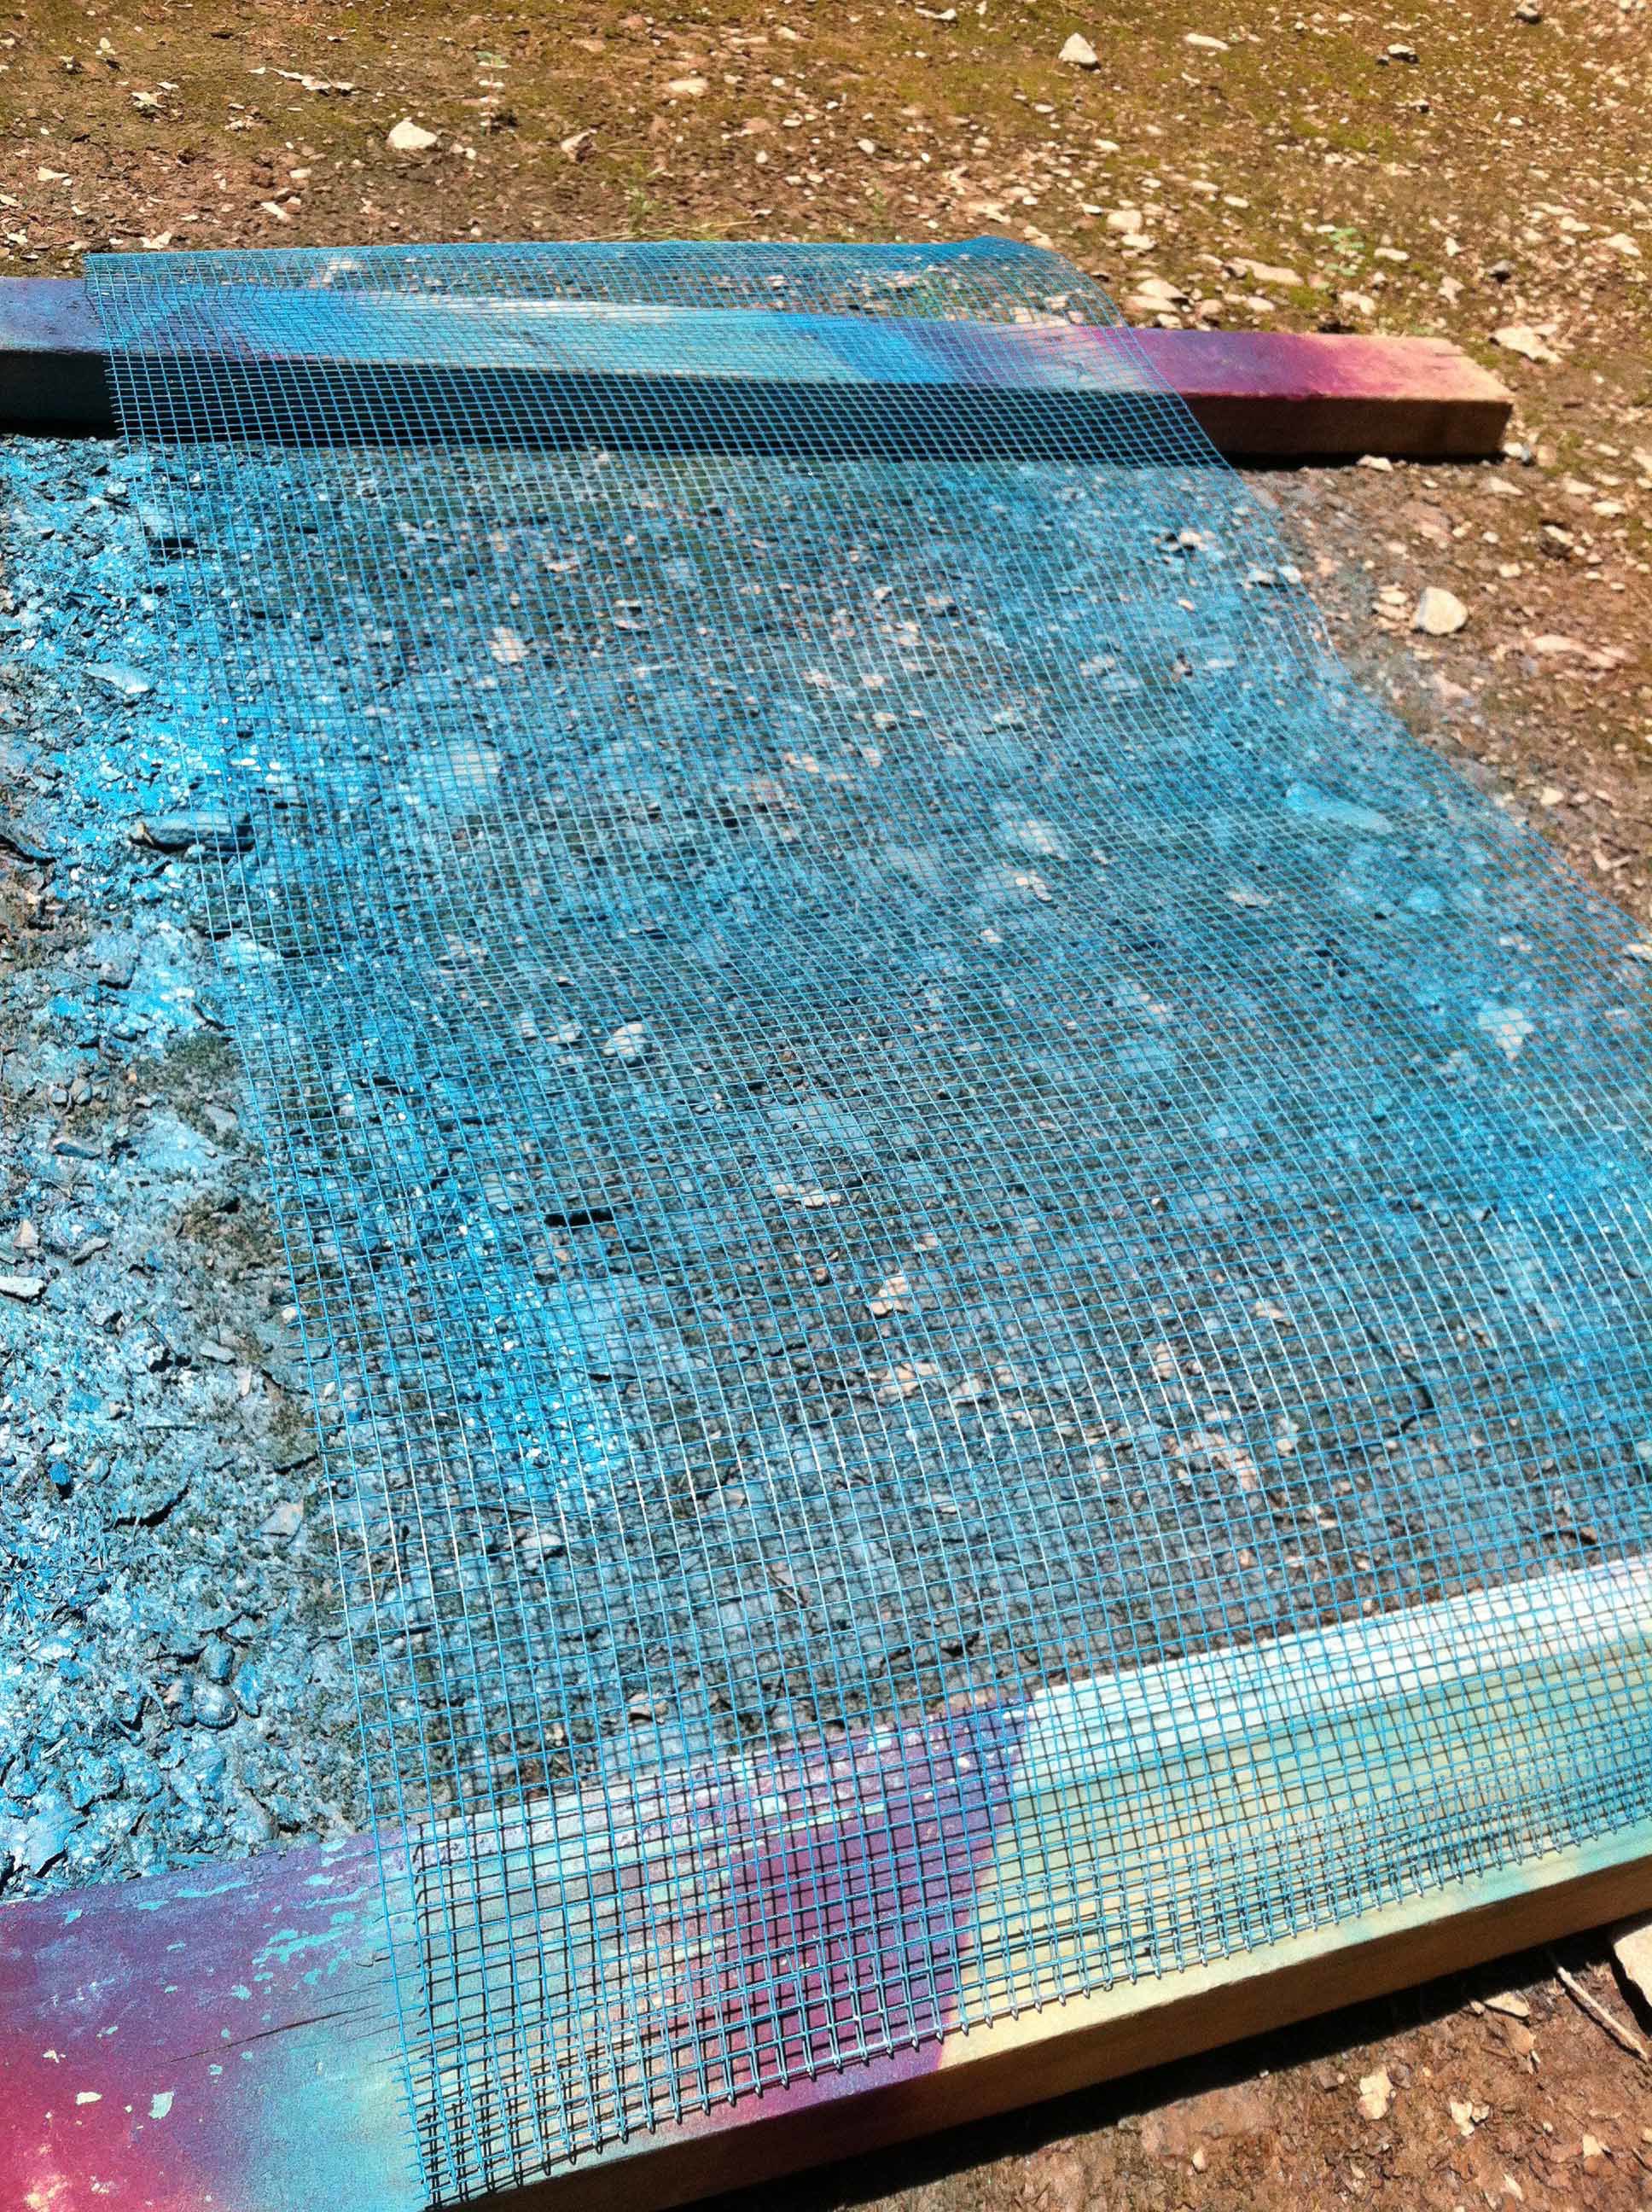 If you want both sides to be evenly painted, then cut the wire after you spray paint. I learned this in retrospect. Having a little extra wire around the edges lets you hold it down without compromising the space you want to spray paint.
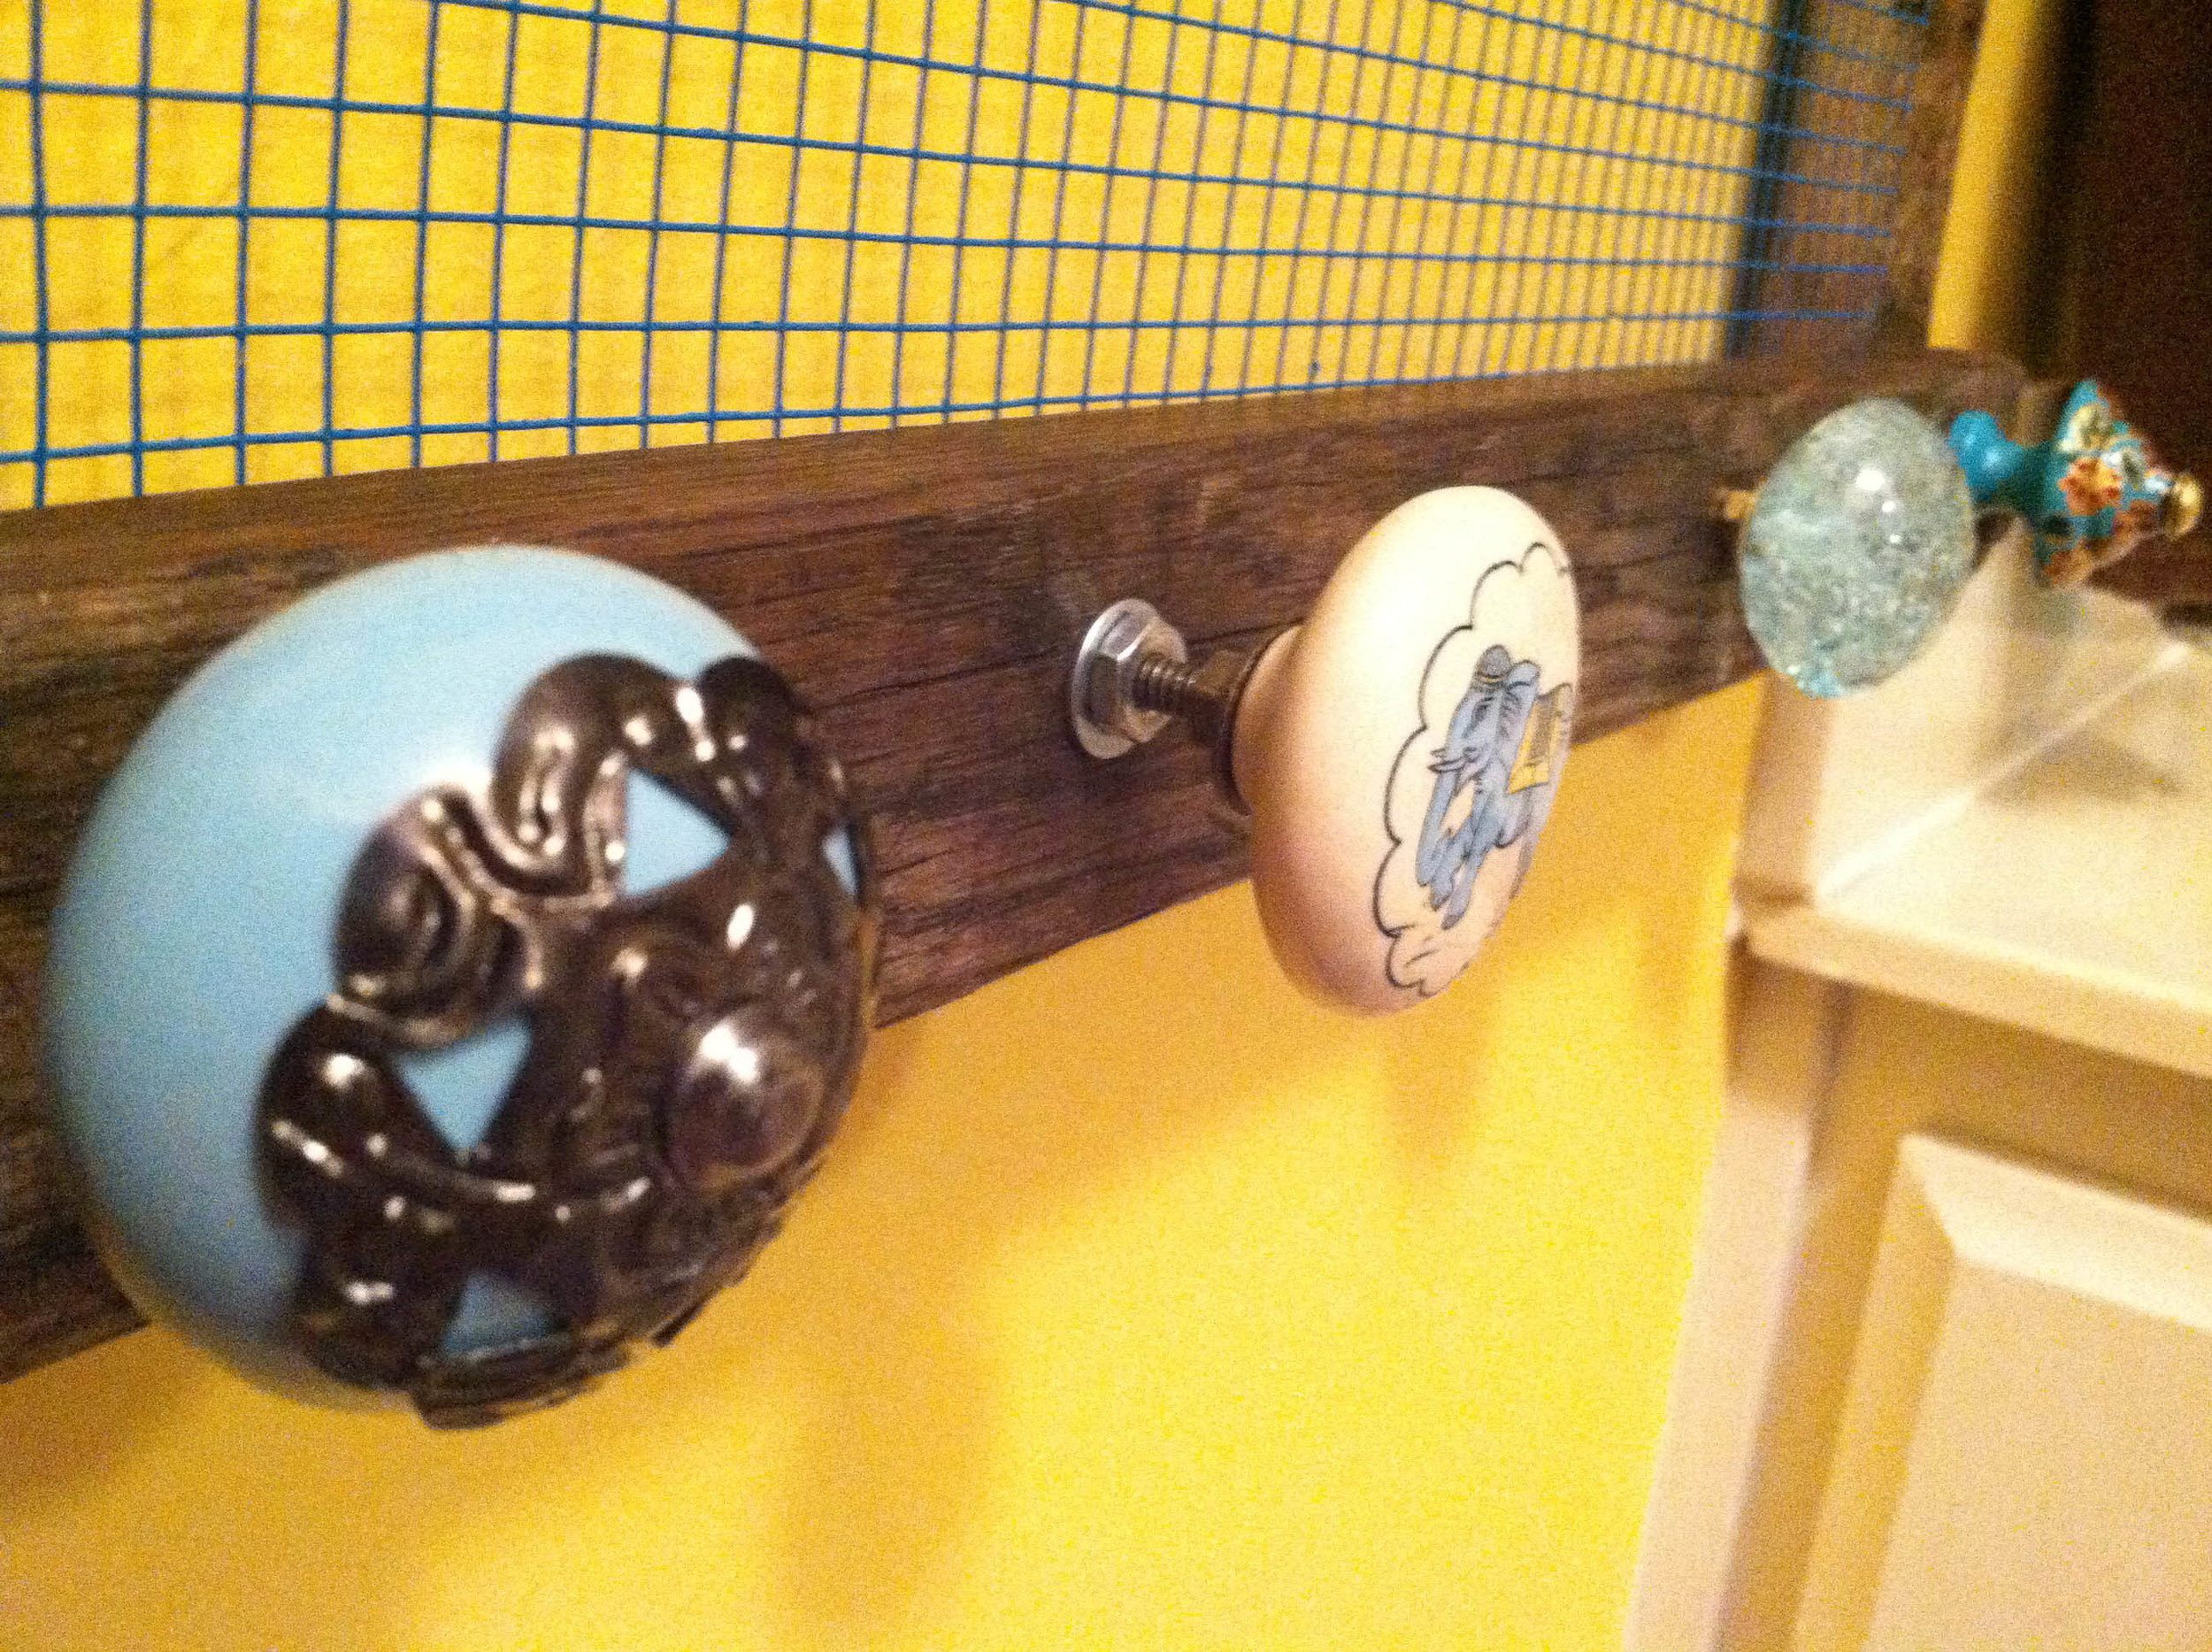
While the wire was drying, I took the ladder outside and drilled two holes into the bottom rung of the ladder (two were already drilled) for some cabinet knobs which I picked out at World Market.
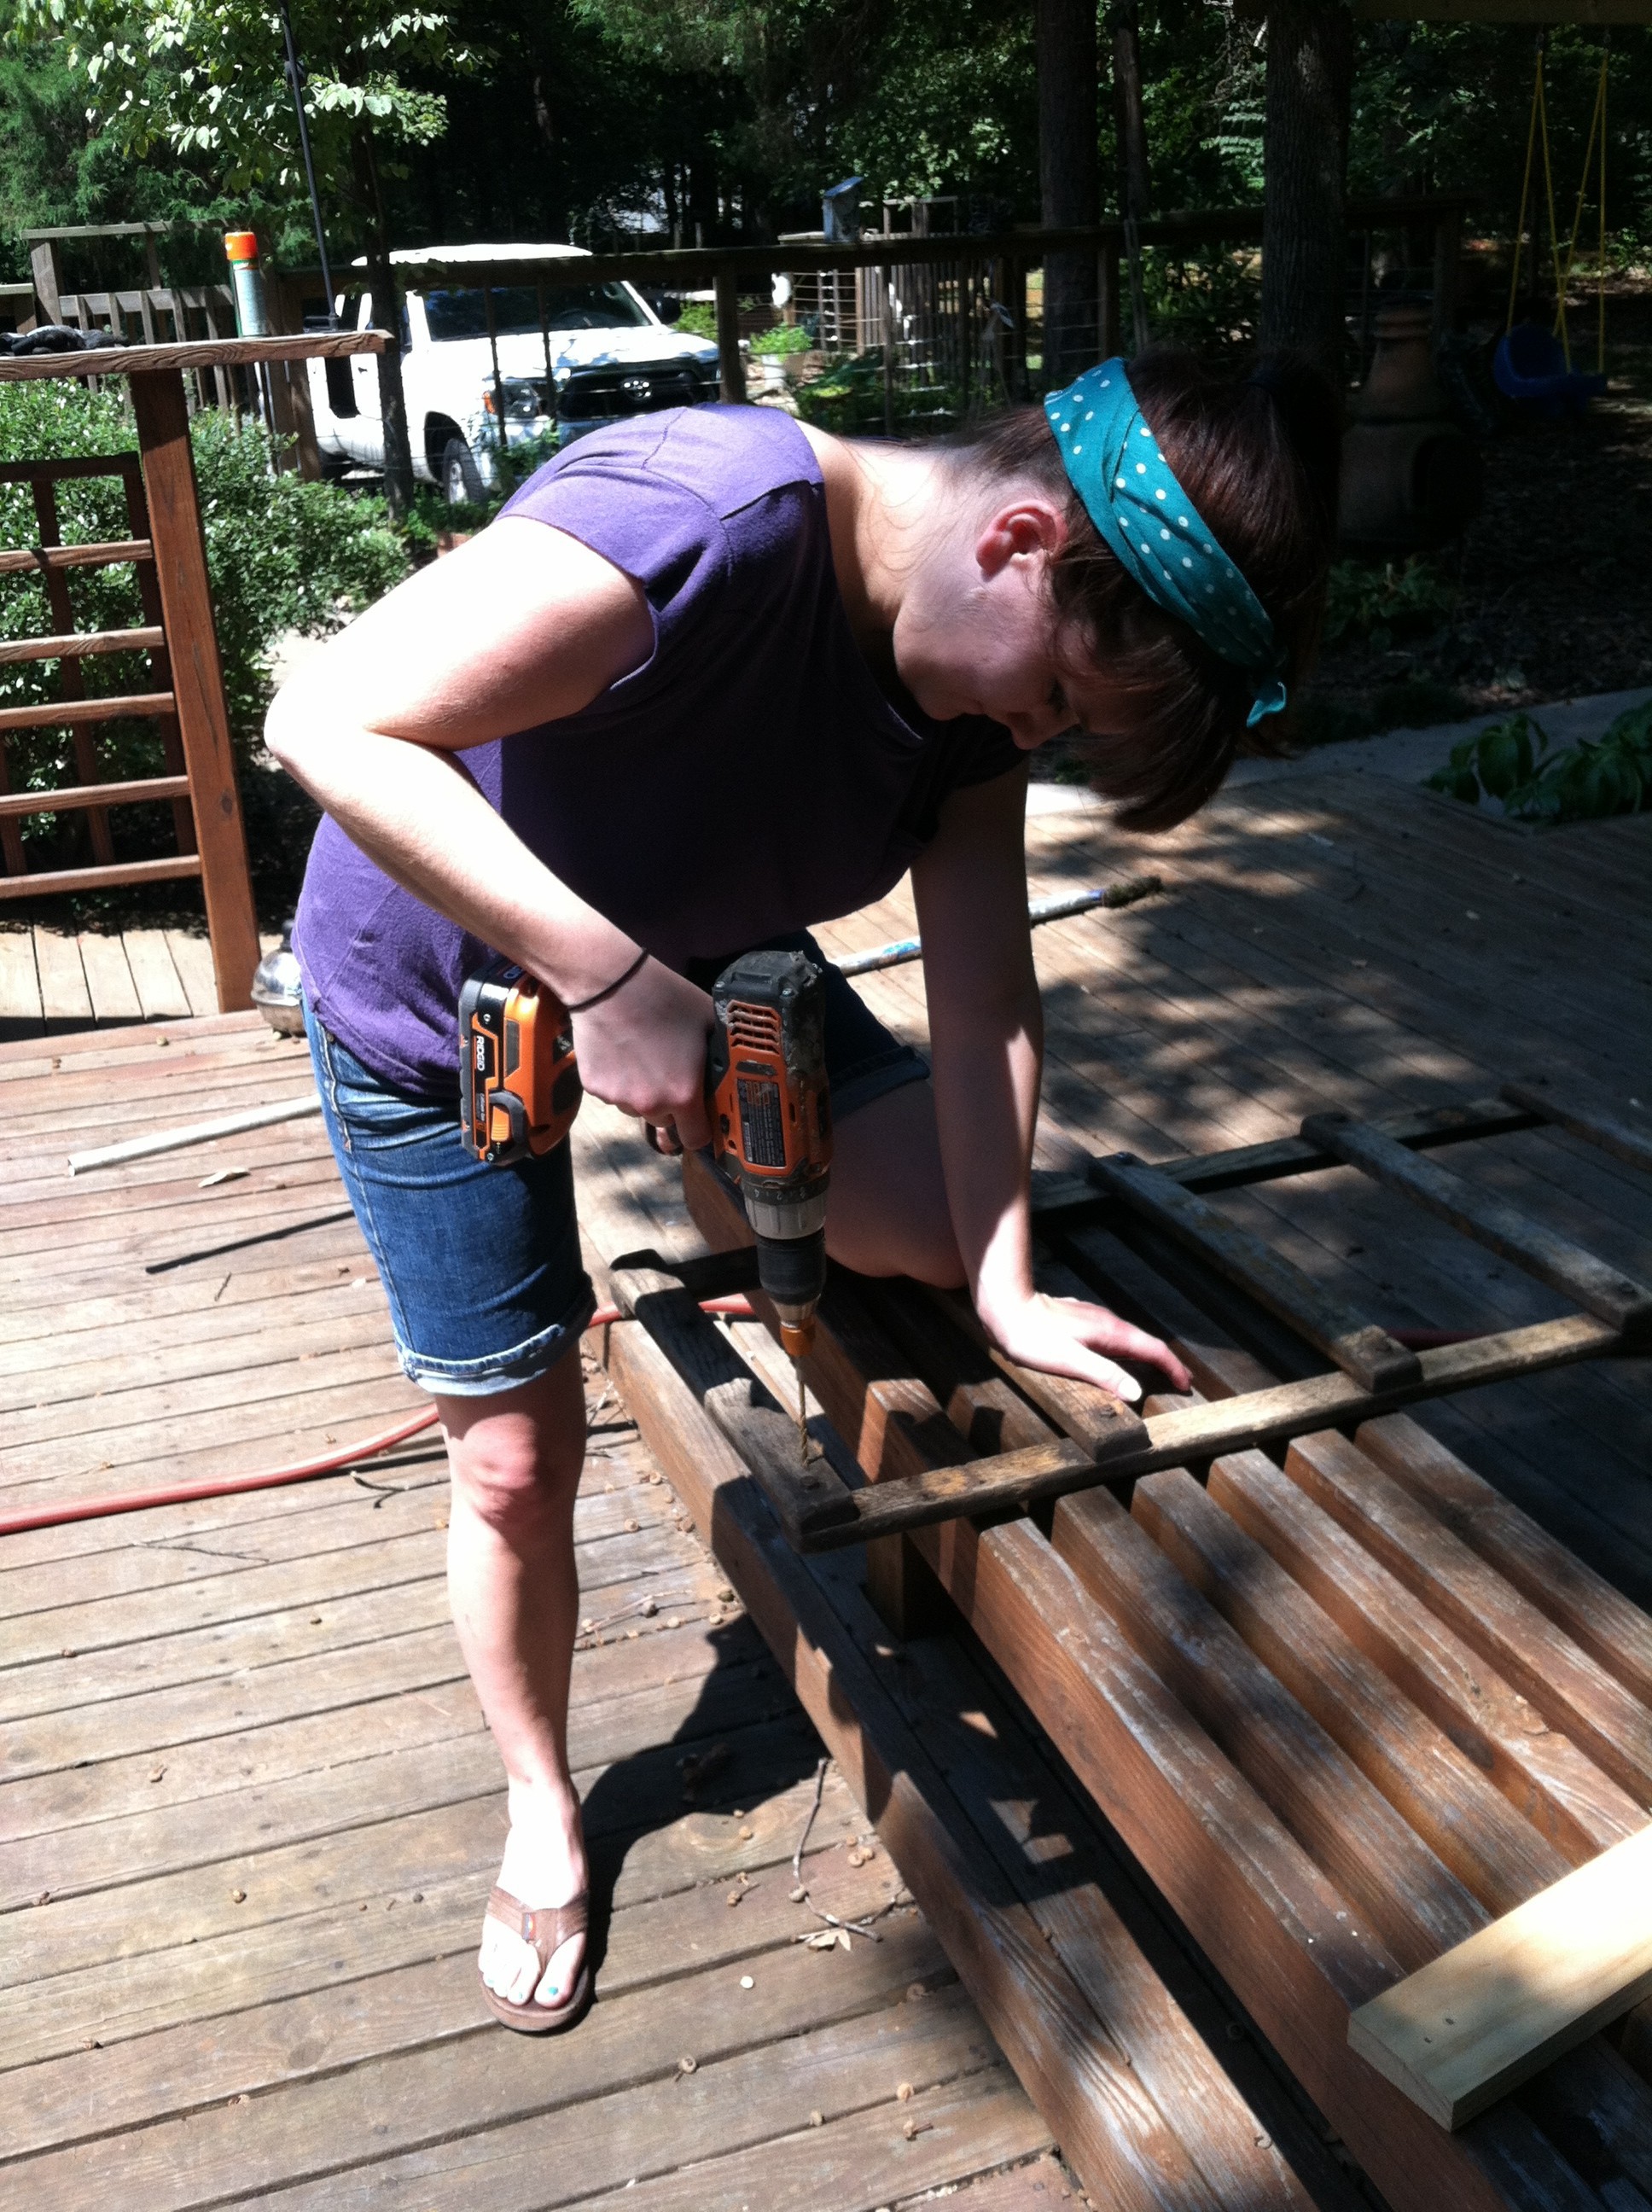
 The knobs definitely match my room and my personal aesthetic. The knobs and whatever color you paint the wire, as well as what you use to hold up the wire is what personalizes the project for you.
After the wire is dry, either staple or screw it into the wood. I had to use screws as the wood was too dense for staples. I screwed the wire into each run of the ladder to keep it secure. The rungs also allowed me to hide the screws, and keep them away from the back where they would get in the way of hanging the ladder on the wall.
After attaching the wire, I then attached the knobs.
 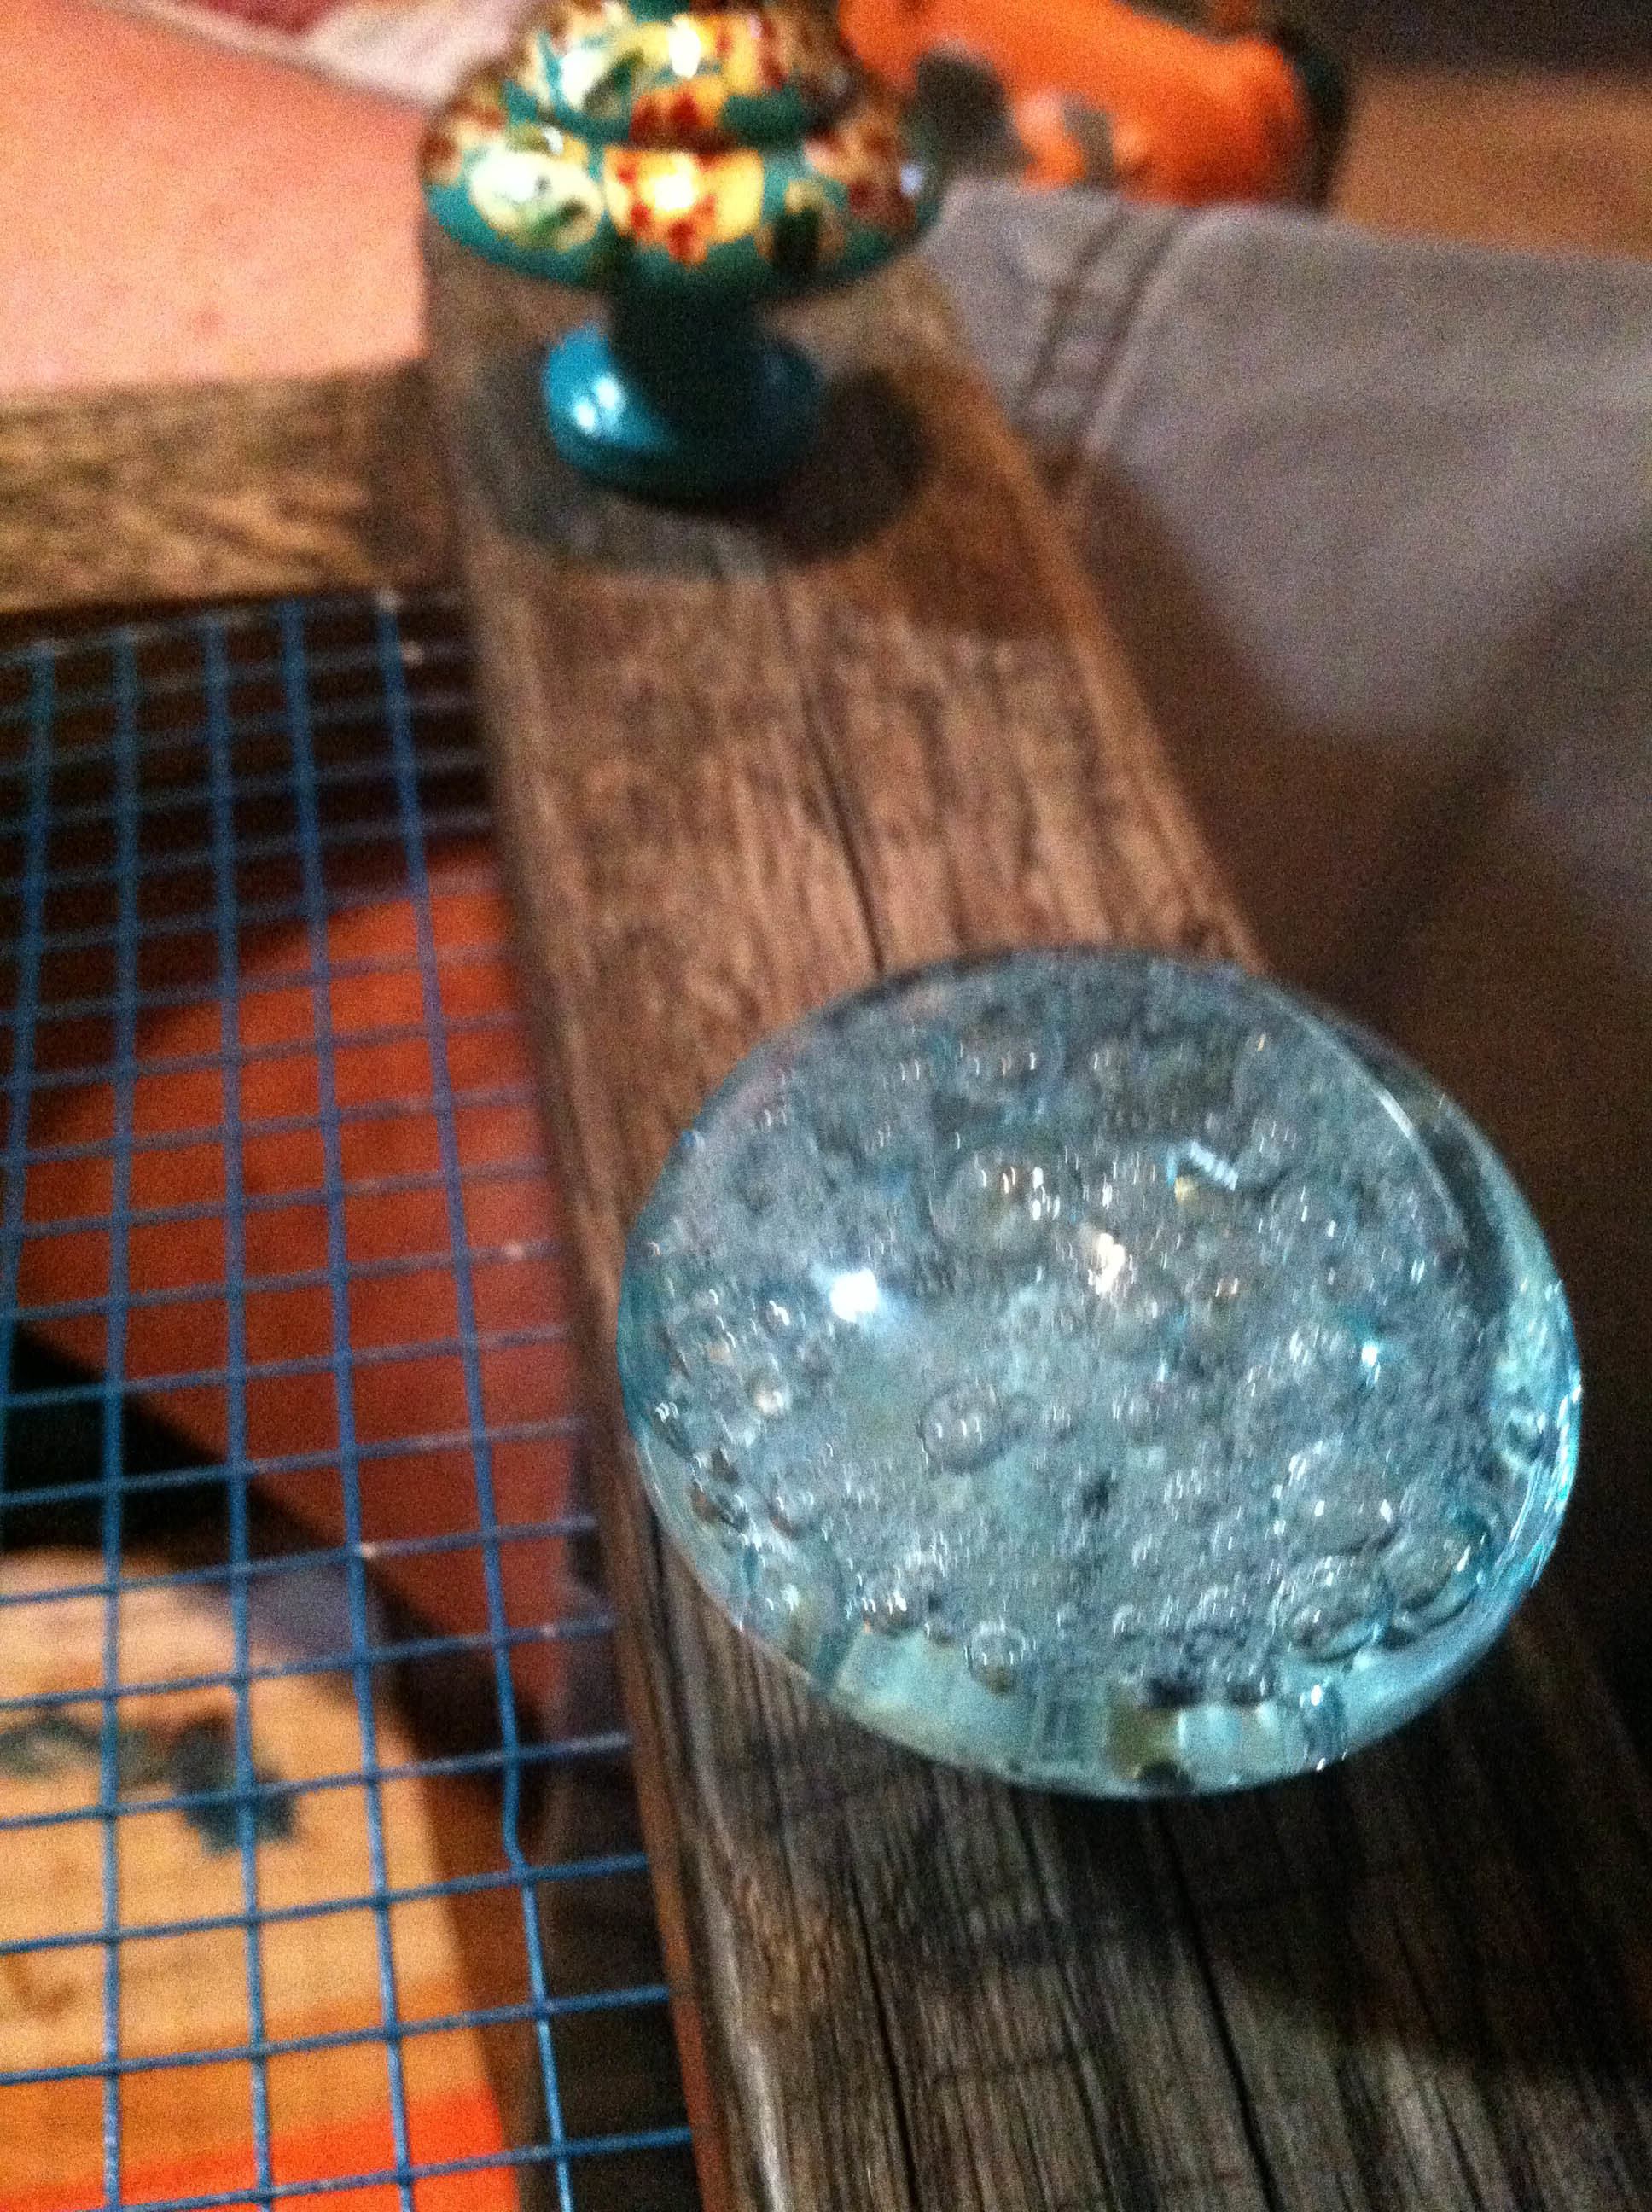 Extra washers were needed to keep the knobs in place and farther from the wood of the ladder so that bracelets would hang on them properly. This is something to think about when buying the frame. Is it too thick for attaching knobs, or can you make it work.
I ended up with this! I honestly probably still need more room for all my jewelry, but at least i have a way to display the pieces I wear most in a pretty and organized way.
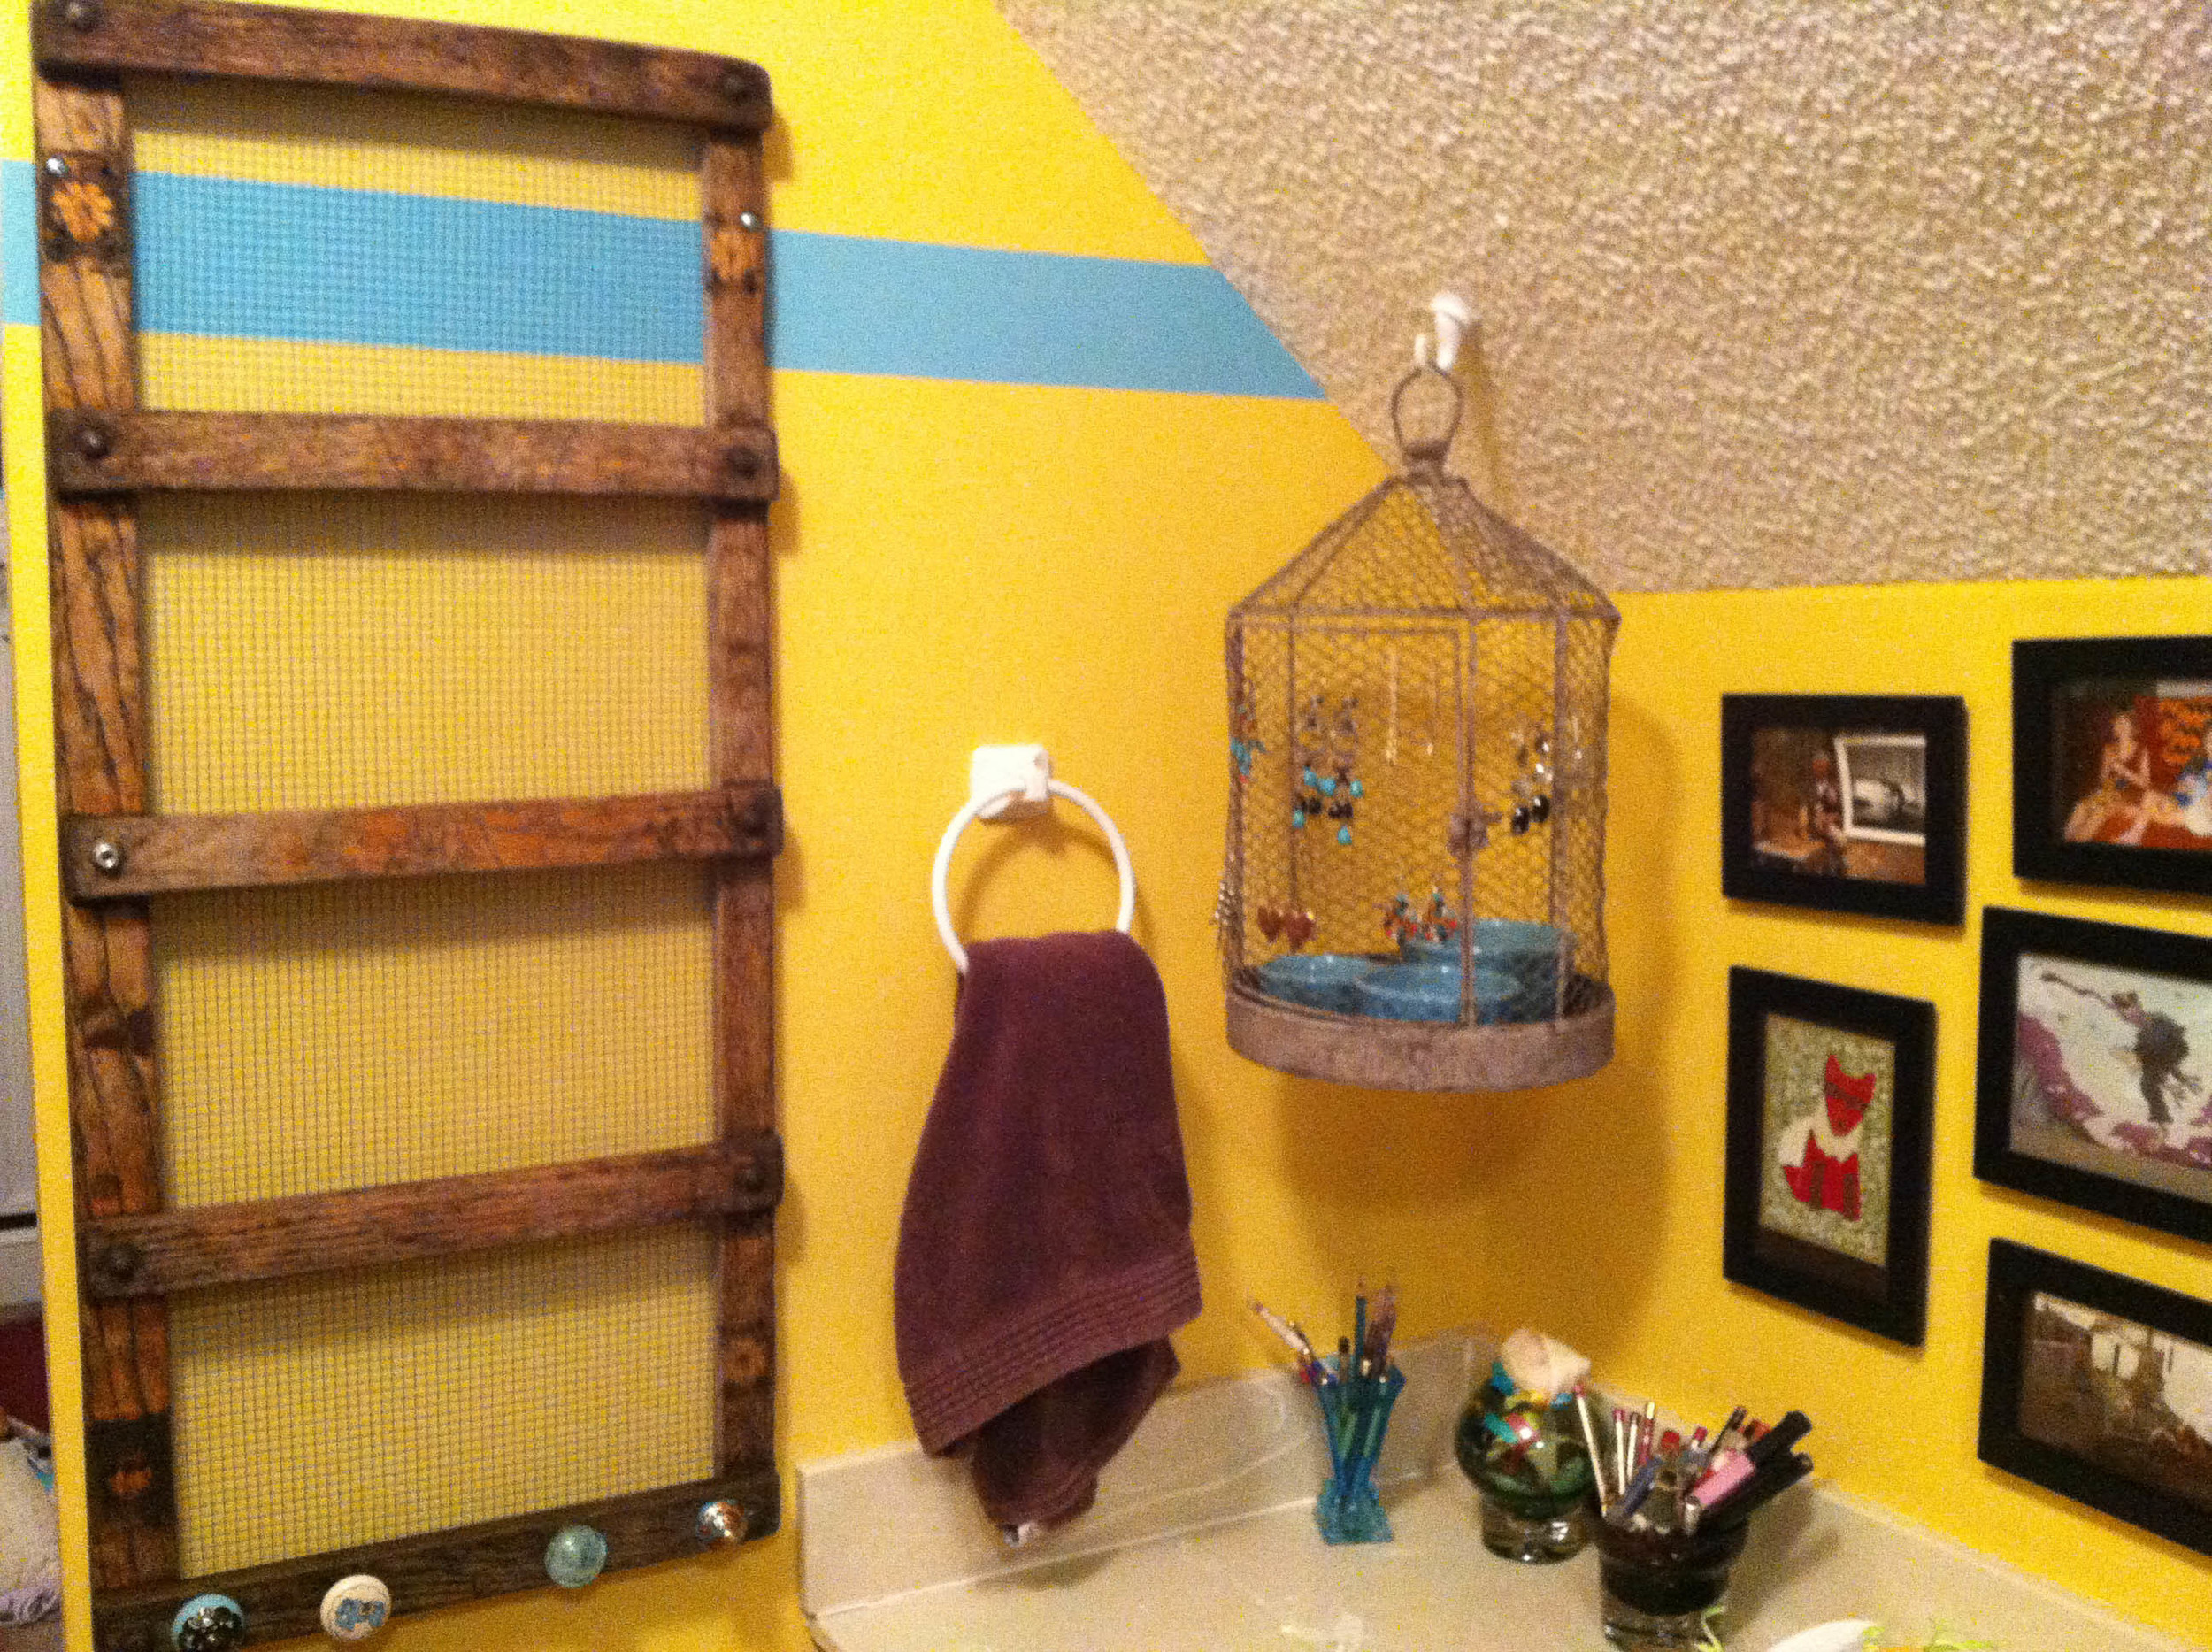
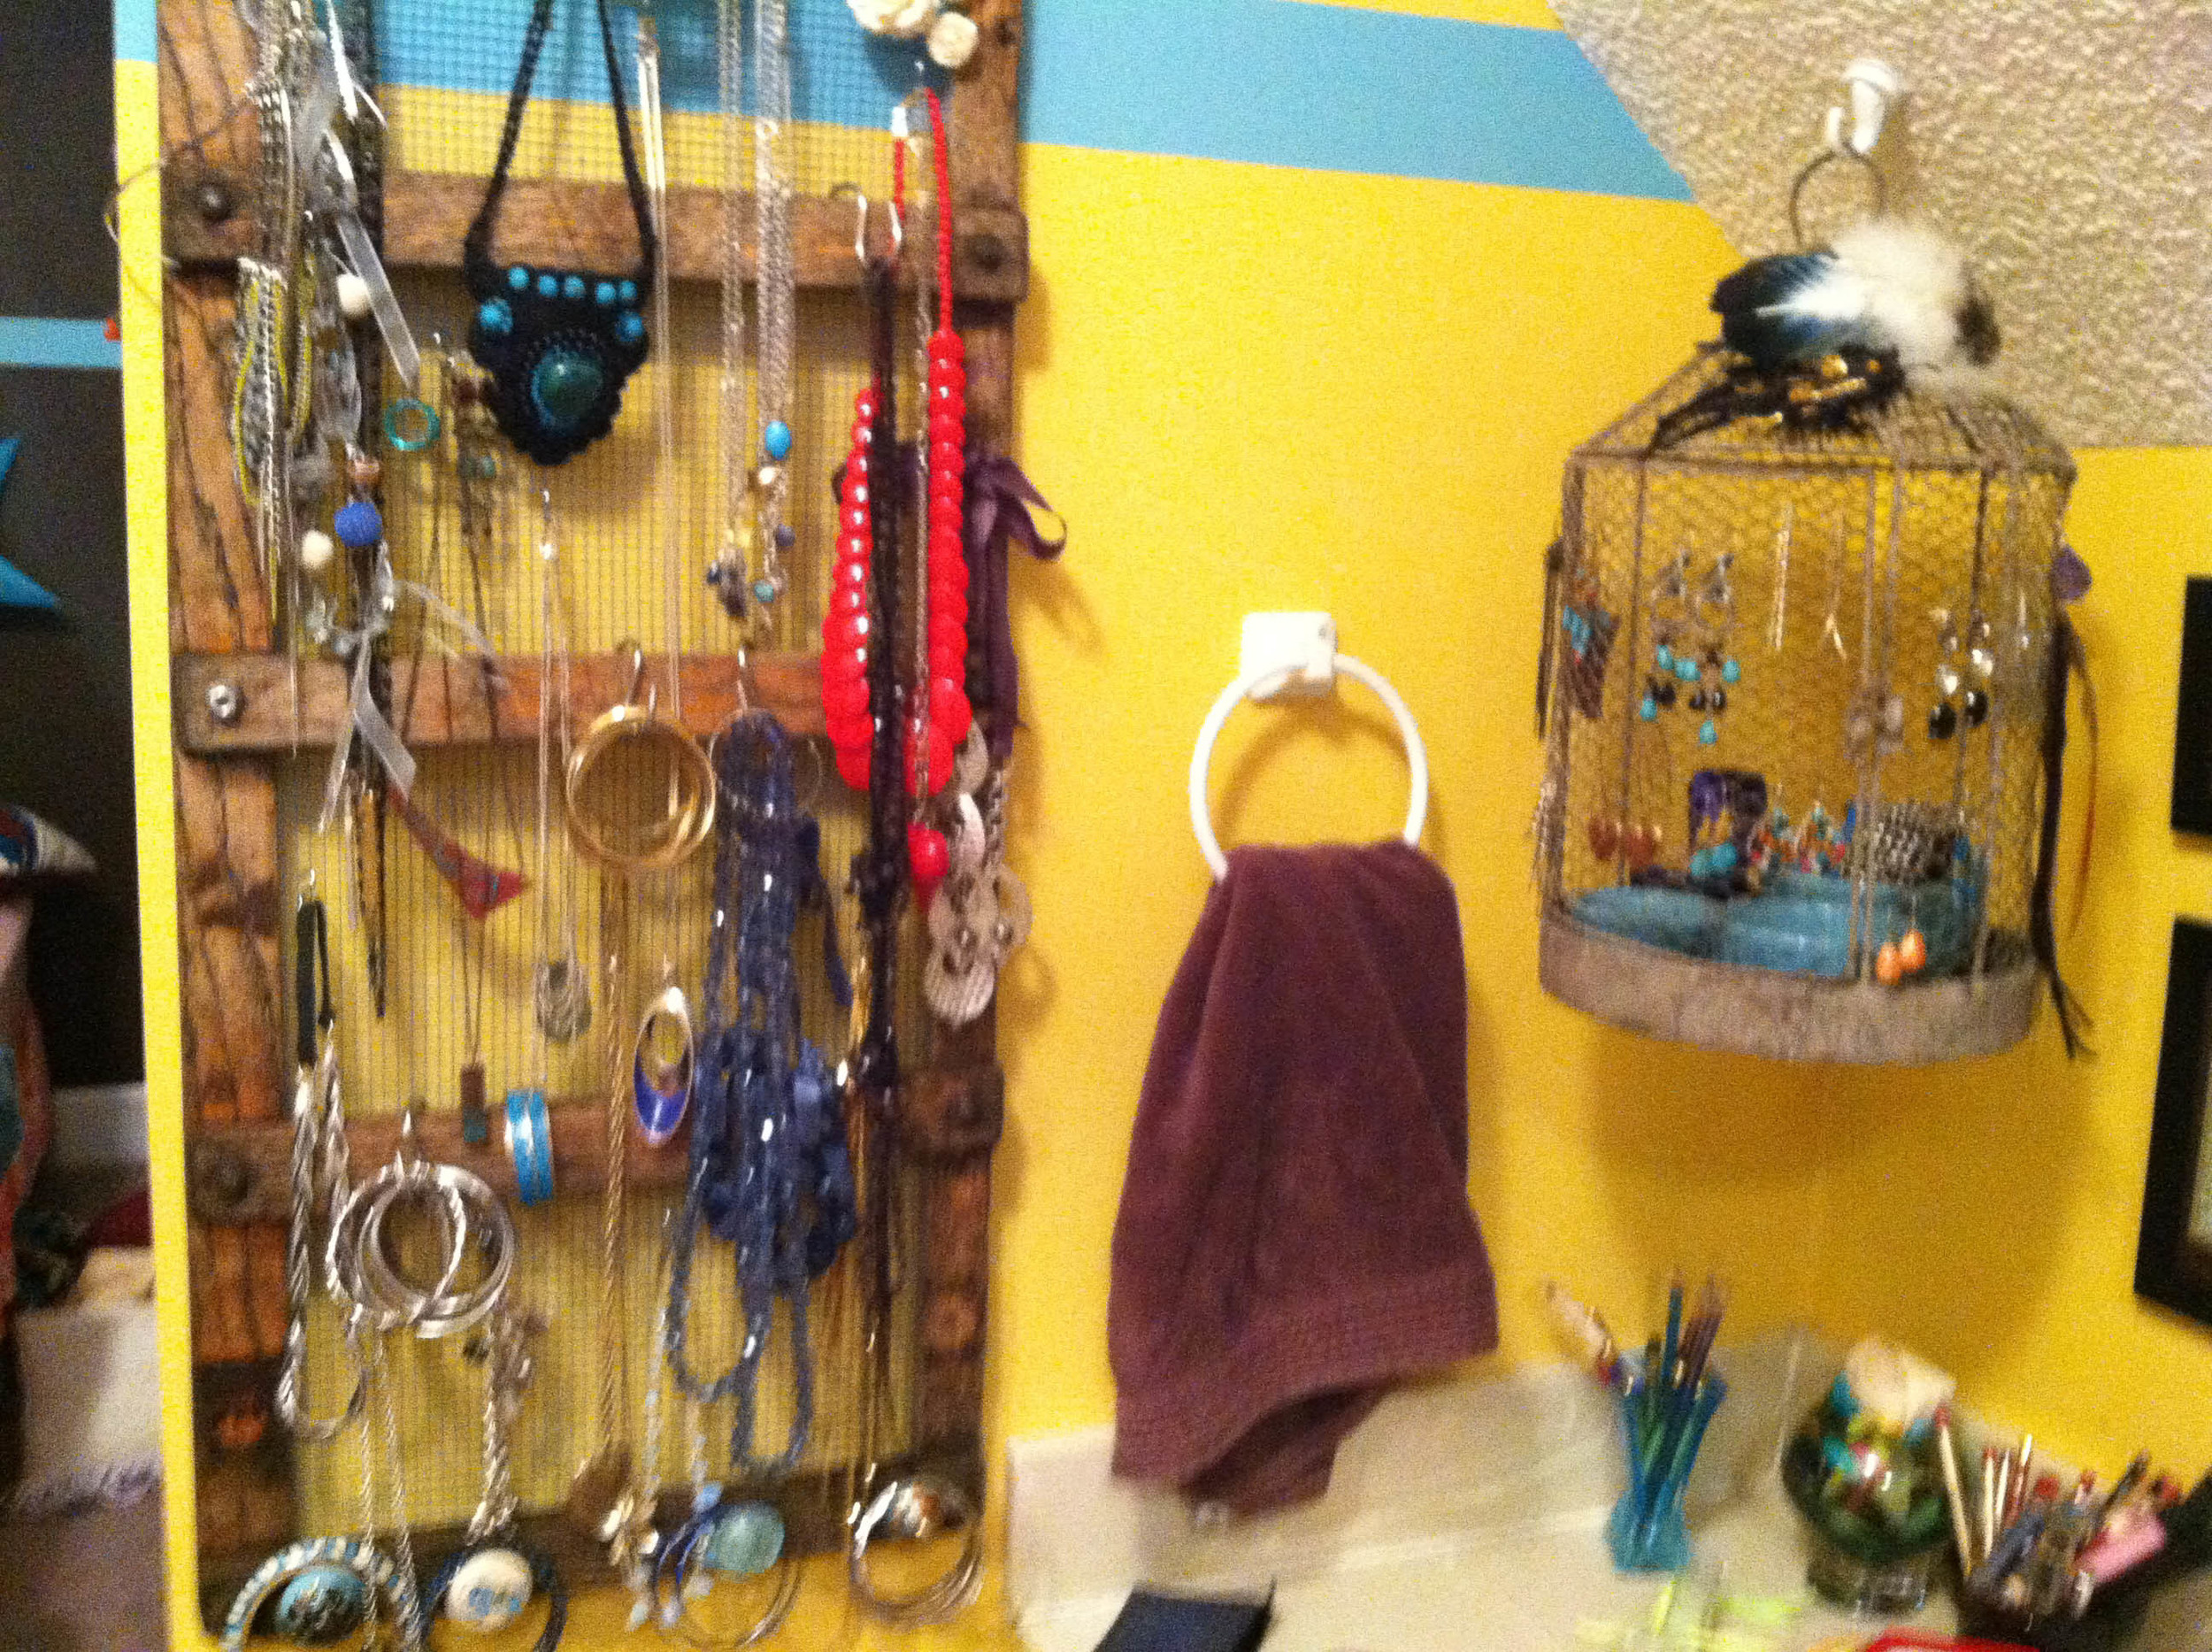 I used small S-Hooks to hang necklaces, a few rings, and bracelets. Larger S-Hooks were used for the big-mama necklaces and bracelets. I placed teal little bowls of varying sizes inside the birdcage to hold rings and other smaller types of jewelry such as watches. This had the added benefit of balancing out the earrings that were hung from the wire on the front of the birdcage.
Being at home and mostly unemployed has afforded me the chance to do a bunch of DIY projects I've been thinking about for a while now. The first being the lovely (and easy) project of taking some old red jeans and turning them into new red shorts!I went about this in a pretty devil-may-care way. Laying them out and measuring at the outside seam about how long I thought I would want them. And then I added an inch. The extra inch was so I could roll the bottoms up twice instead of doing a proper hem. So far it seems to have worked out nicely, though I will say I haven't washed the shortened version yet.
How do they look? What are some DIY projects you've meant to try and just haven't figured out how to do yet?